Create e-invoices for free in minutes - 2026 Guide

Peter
Updated on:

Creating professional e-invoices doesn't have to be complicated. Whether you're a freelancer taking on your first clients or a small business owner ready to streamline billing, this guide shows you exactly how to use Norman to create, customize, and automate your invoices.
Norman makes e-invoicing simple. No accounting degree required, no technical skills needed. The platform handles compliance and formatting while you focus on personalizing invoices that reflect your brand.
Ready to transform how you handle billing? Let's dive in.
Step 1: VAT Setup
Getting started with Norman takes minutes. No lengthy onboarding required.
Create your account with just an email and a password.
✅ Check your inbox for a confirmation link. You can create invoices without confirming, but it helps with account recovery later.
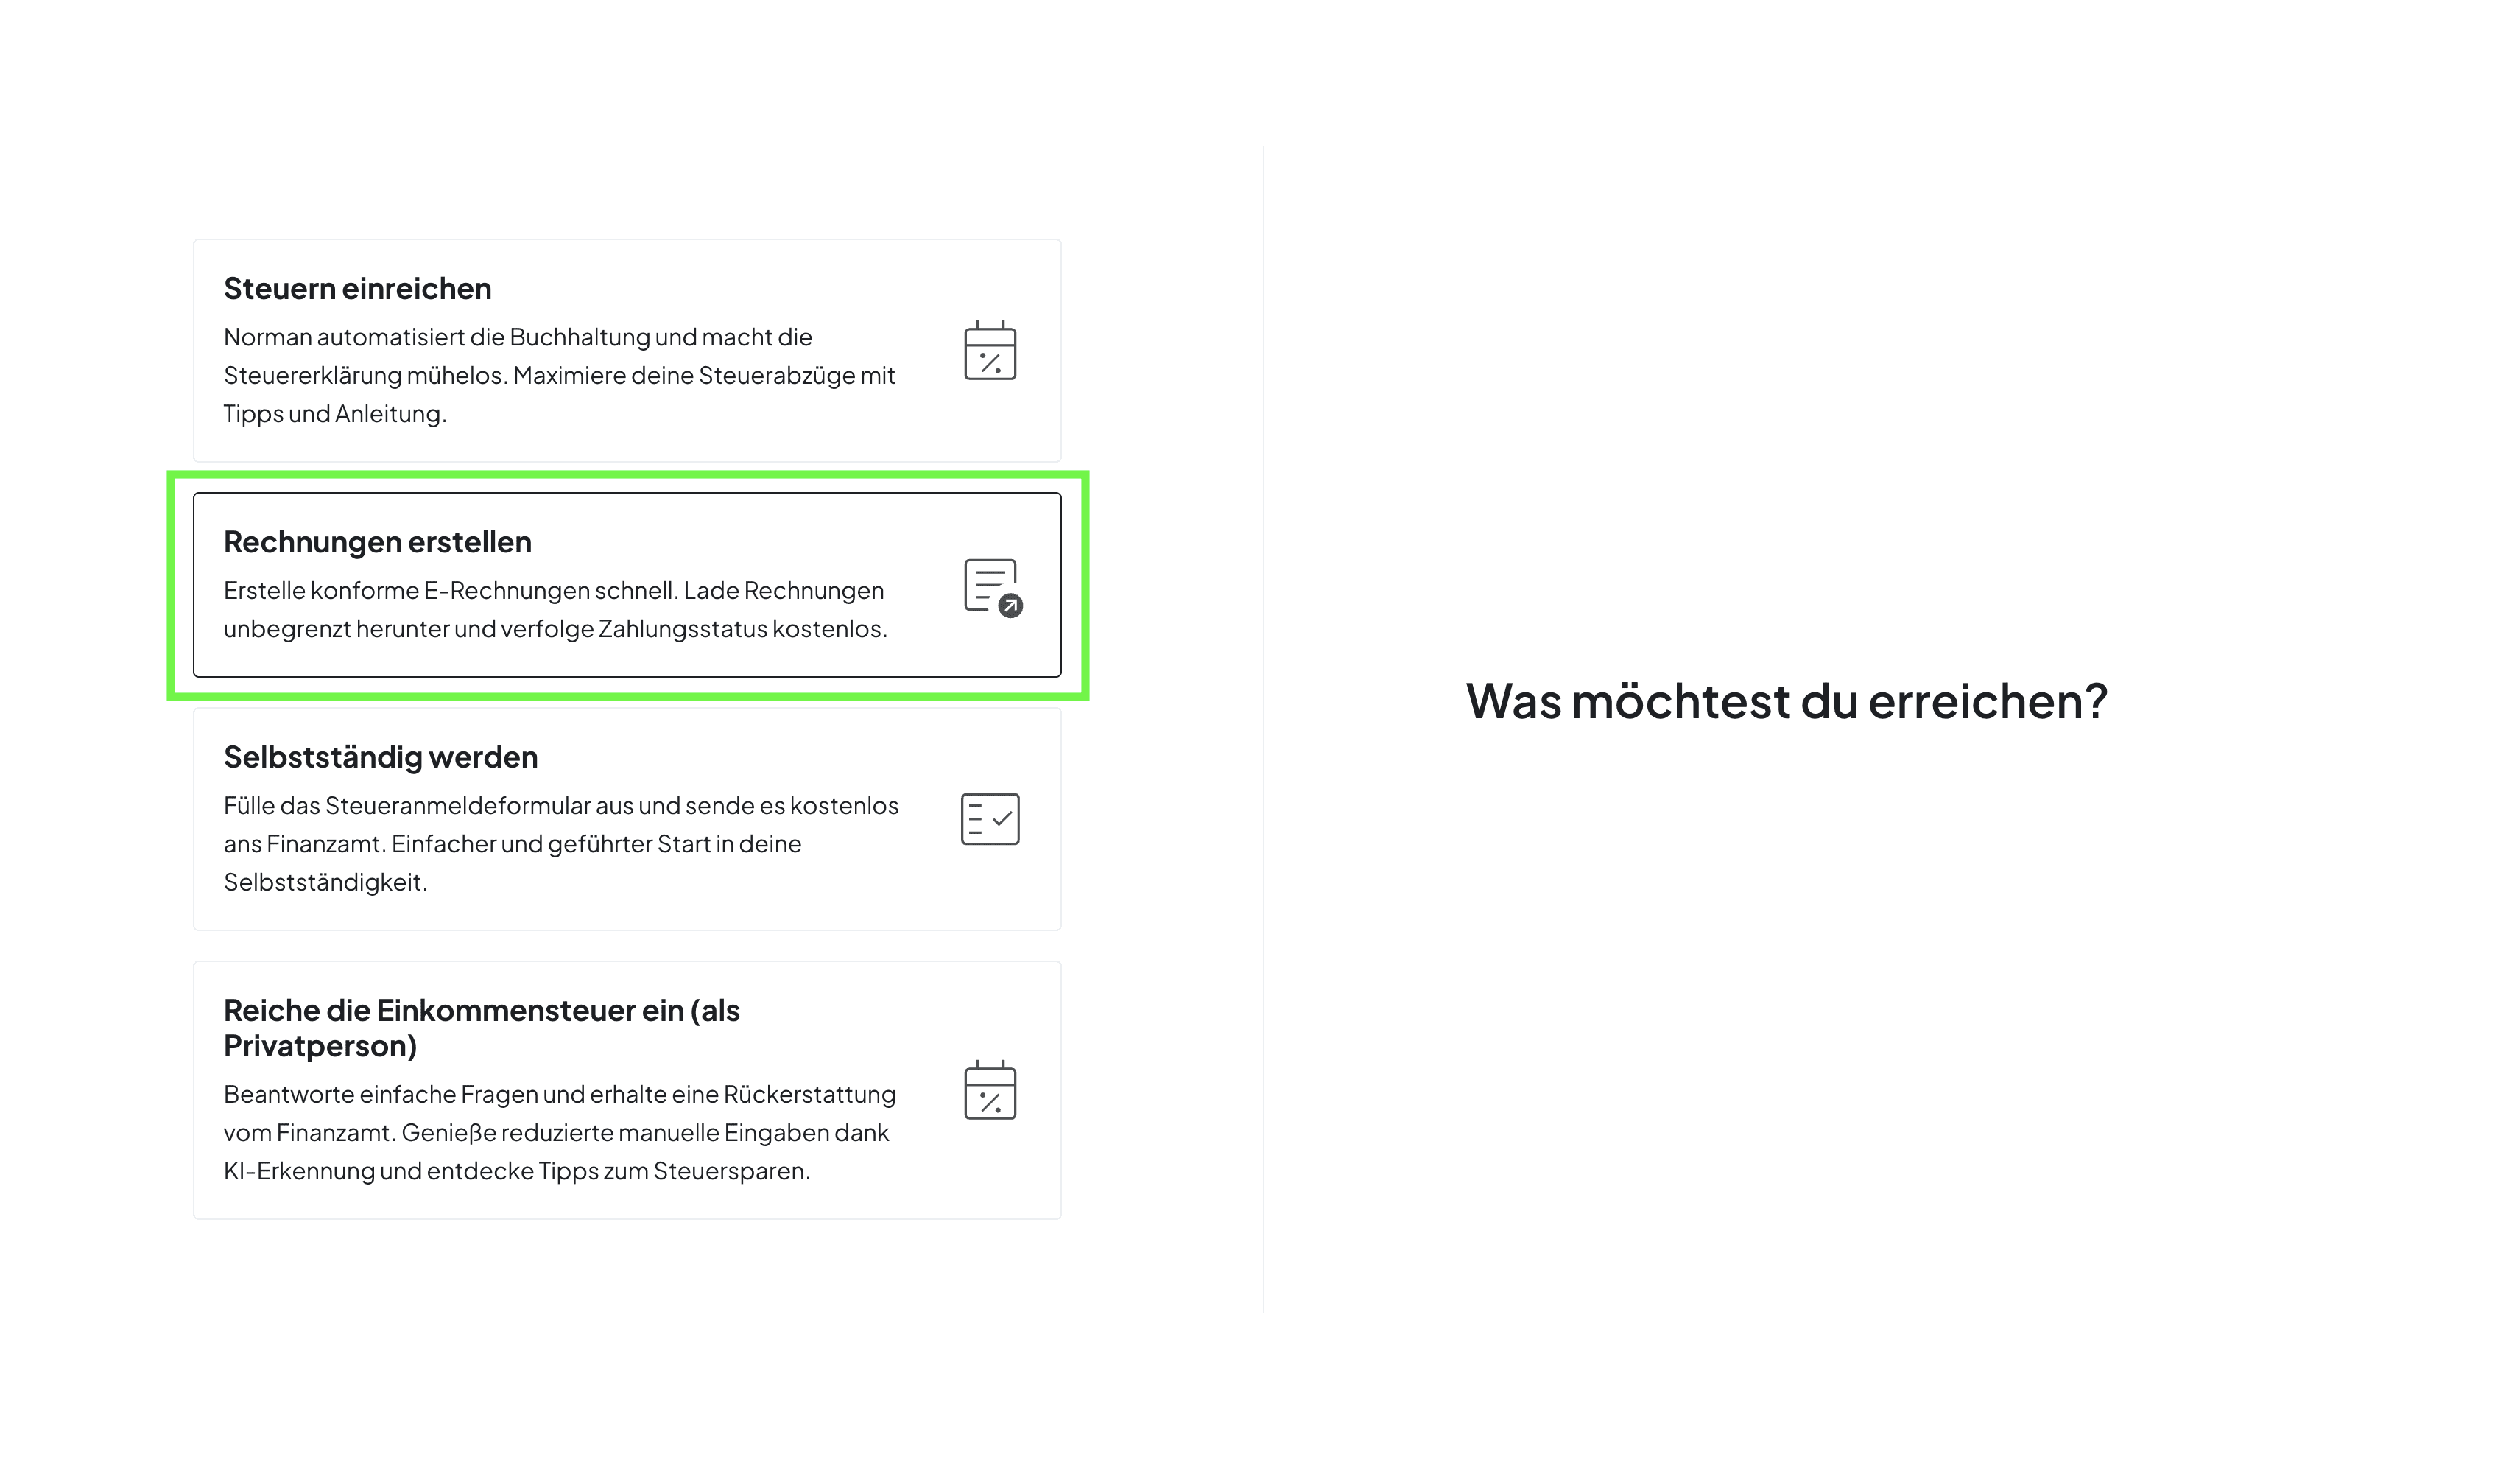
On the onboarding screen, select "Create invoices" from the menu. This takes you straight to invoicing—no unnecessary detours.
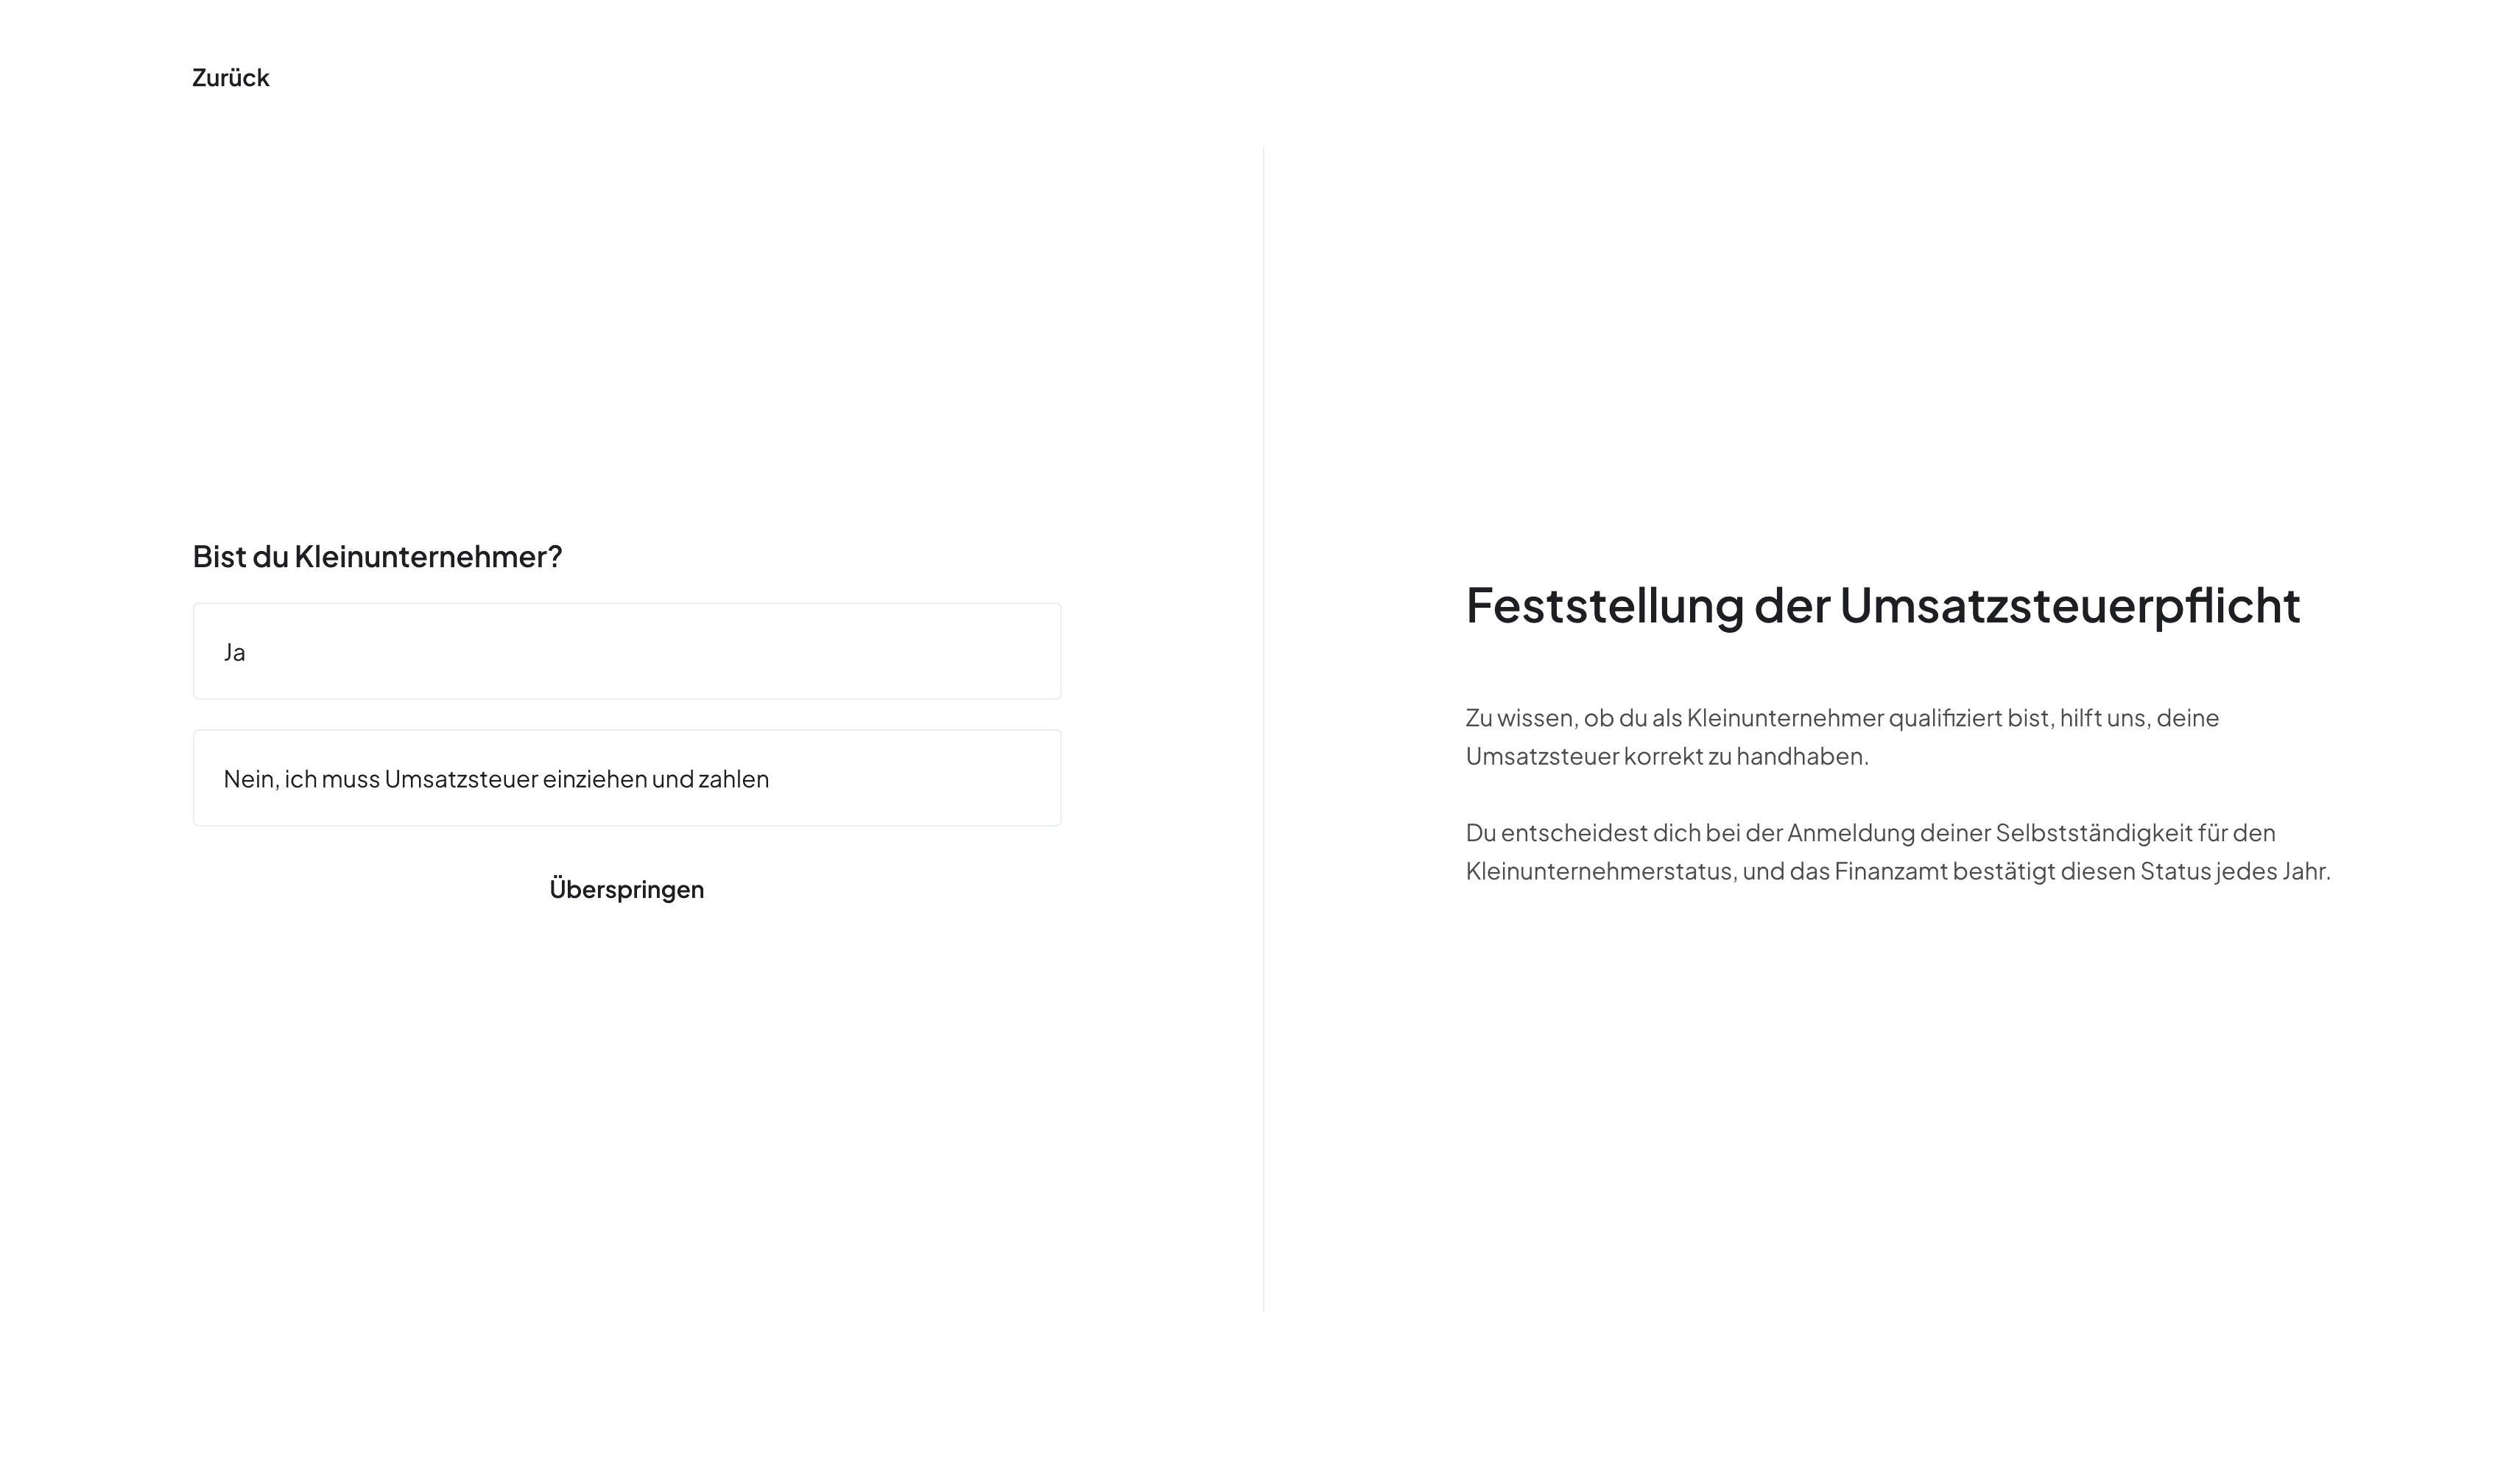
Next, choose your VAT status in Germany. This determines how your invoices display tax information:
Kleinunternehmer (small business) – You don't charge VAT on invoices
I collect VAT – You add VAT to your invoices based on standard rules
Not sure which applies to you? The platform includes helpful guidance, and you can change this anytime in your settings.
That's it. You're ready to create your first professional invoice.
❌ Don't want to sign up and create accounts? Use our free e-invoice generator. No sign up, no email confirmations, no watermarks, no limits.
Step 2: Personalization
Before creating your first invoice, spend a few minutes setting up your profile. Some parts are optional (like uploading a logo), while others are required for compliant e-invoices.
Business Profile Configuration
Head to your business settings to add these essential details:
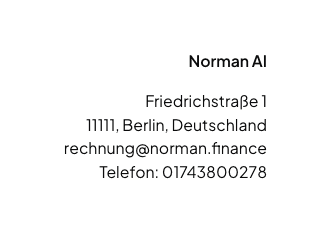
Business information
Business name – This appears as the sender on all invoices
Business address – Required for legal compliance
Contact details – Phone and professional email
Tax identification – Your tax number and VAT number (if selling to EU clients)
Add your payment details once, and they'll appear on every invoice automatically:
Bank name
IBAN – Your International Bank Account Number
BIC/SWIFT – For international payments
QR code (optional) – Makes it easier for clients to pay
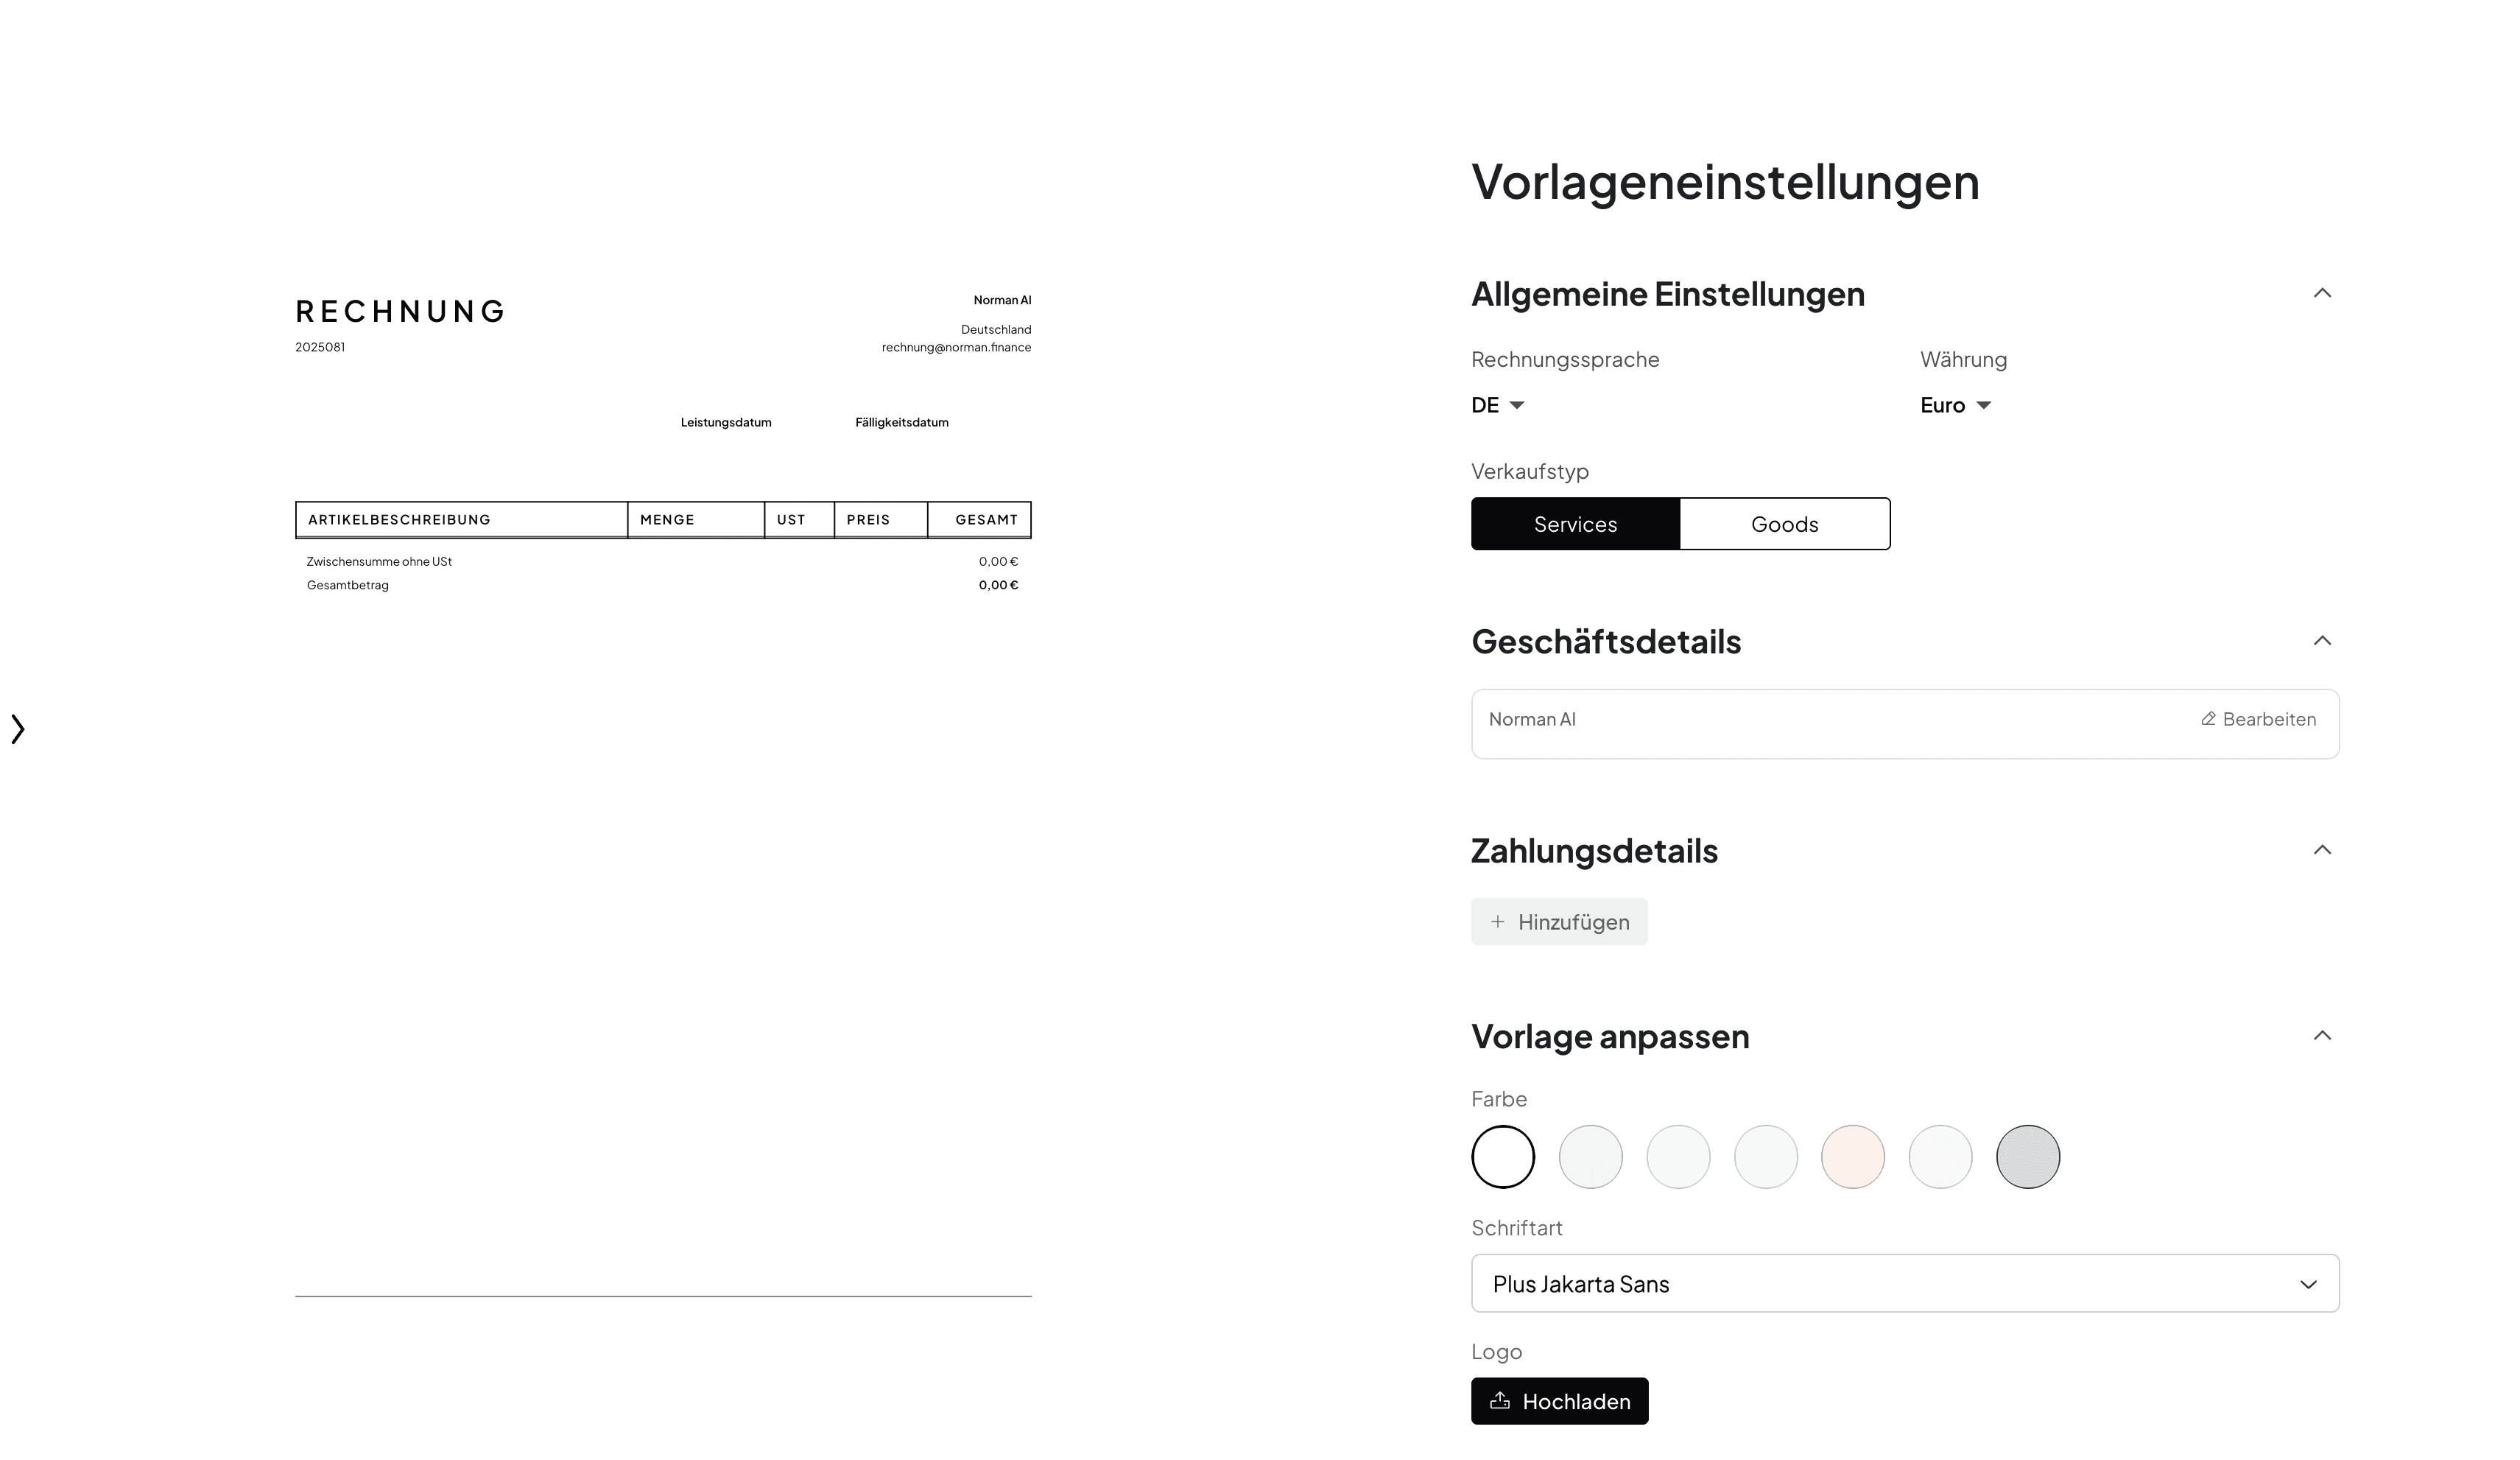
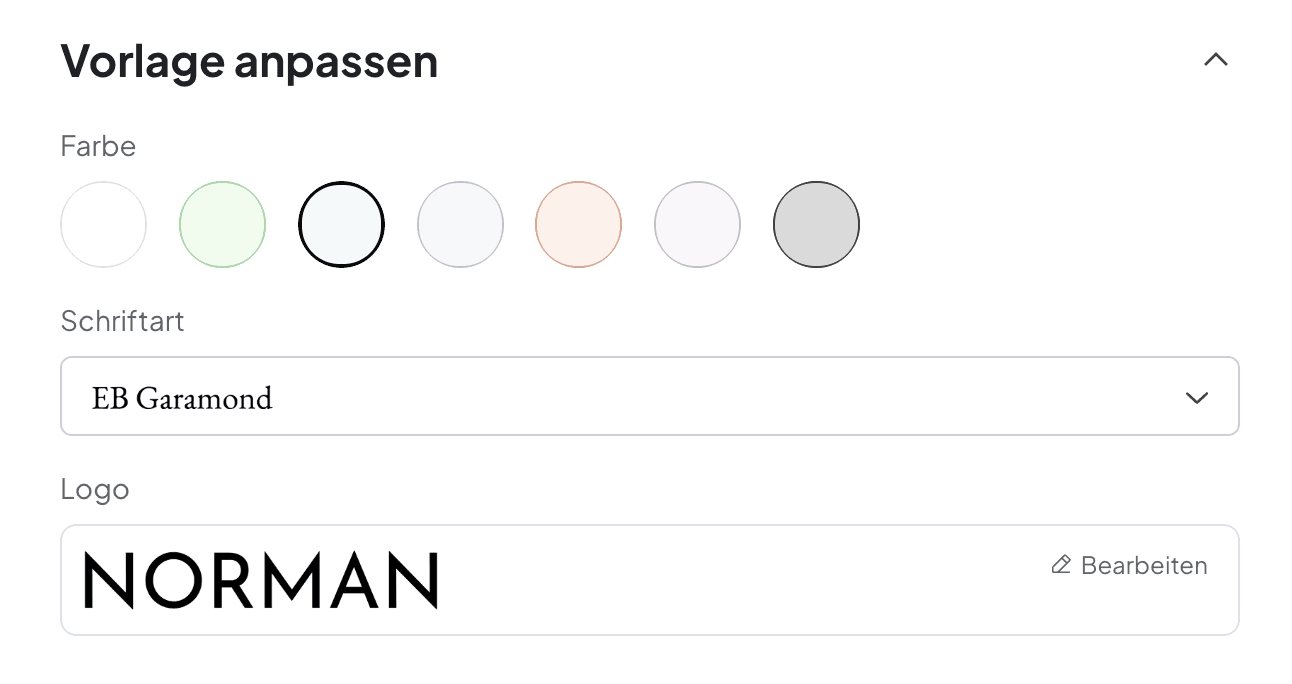
Invoice Template Customization
Make your invoices look professional and uniquely yours.
Visual Branding
Upload your logo for instant brand recognition
Pick a color scheme that matches your brand
Choose from professional fonts that are easy to read
Language and Regional Settings
Set your default invoice language (great for international clients)
Select your primary currency
Define what you sell (influences invoice structure and tax reporting)

🎛 You can change any of these settings later, so don't stress about getting everything perfect right now.
Step 3: E-Invoice Creation
Now comes the fun part—creating your first e-invoice. Norman guides you through each section so you won't miss anything important.
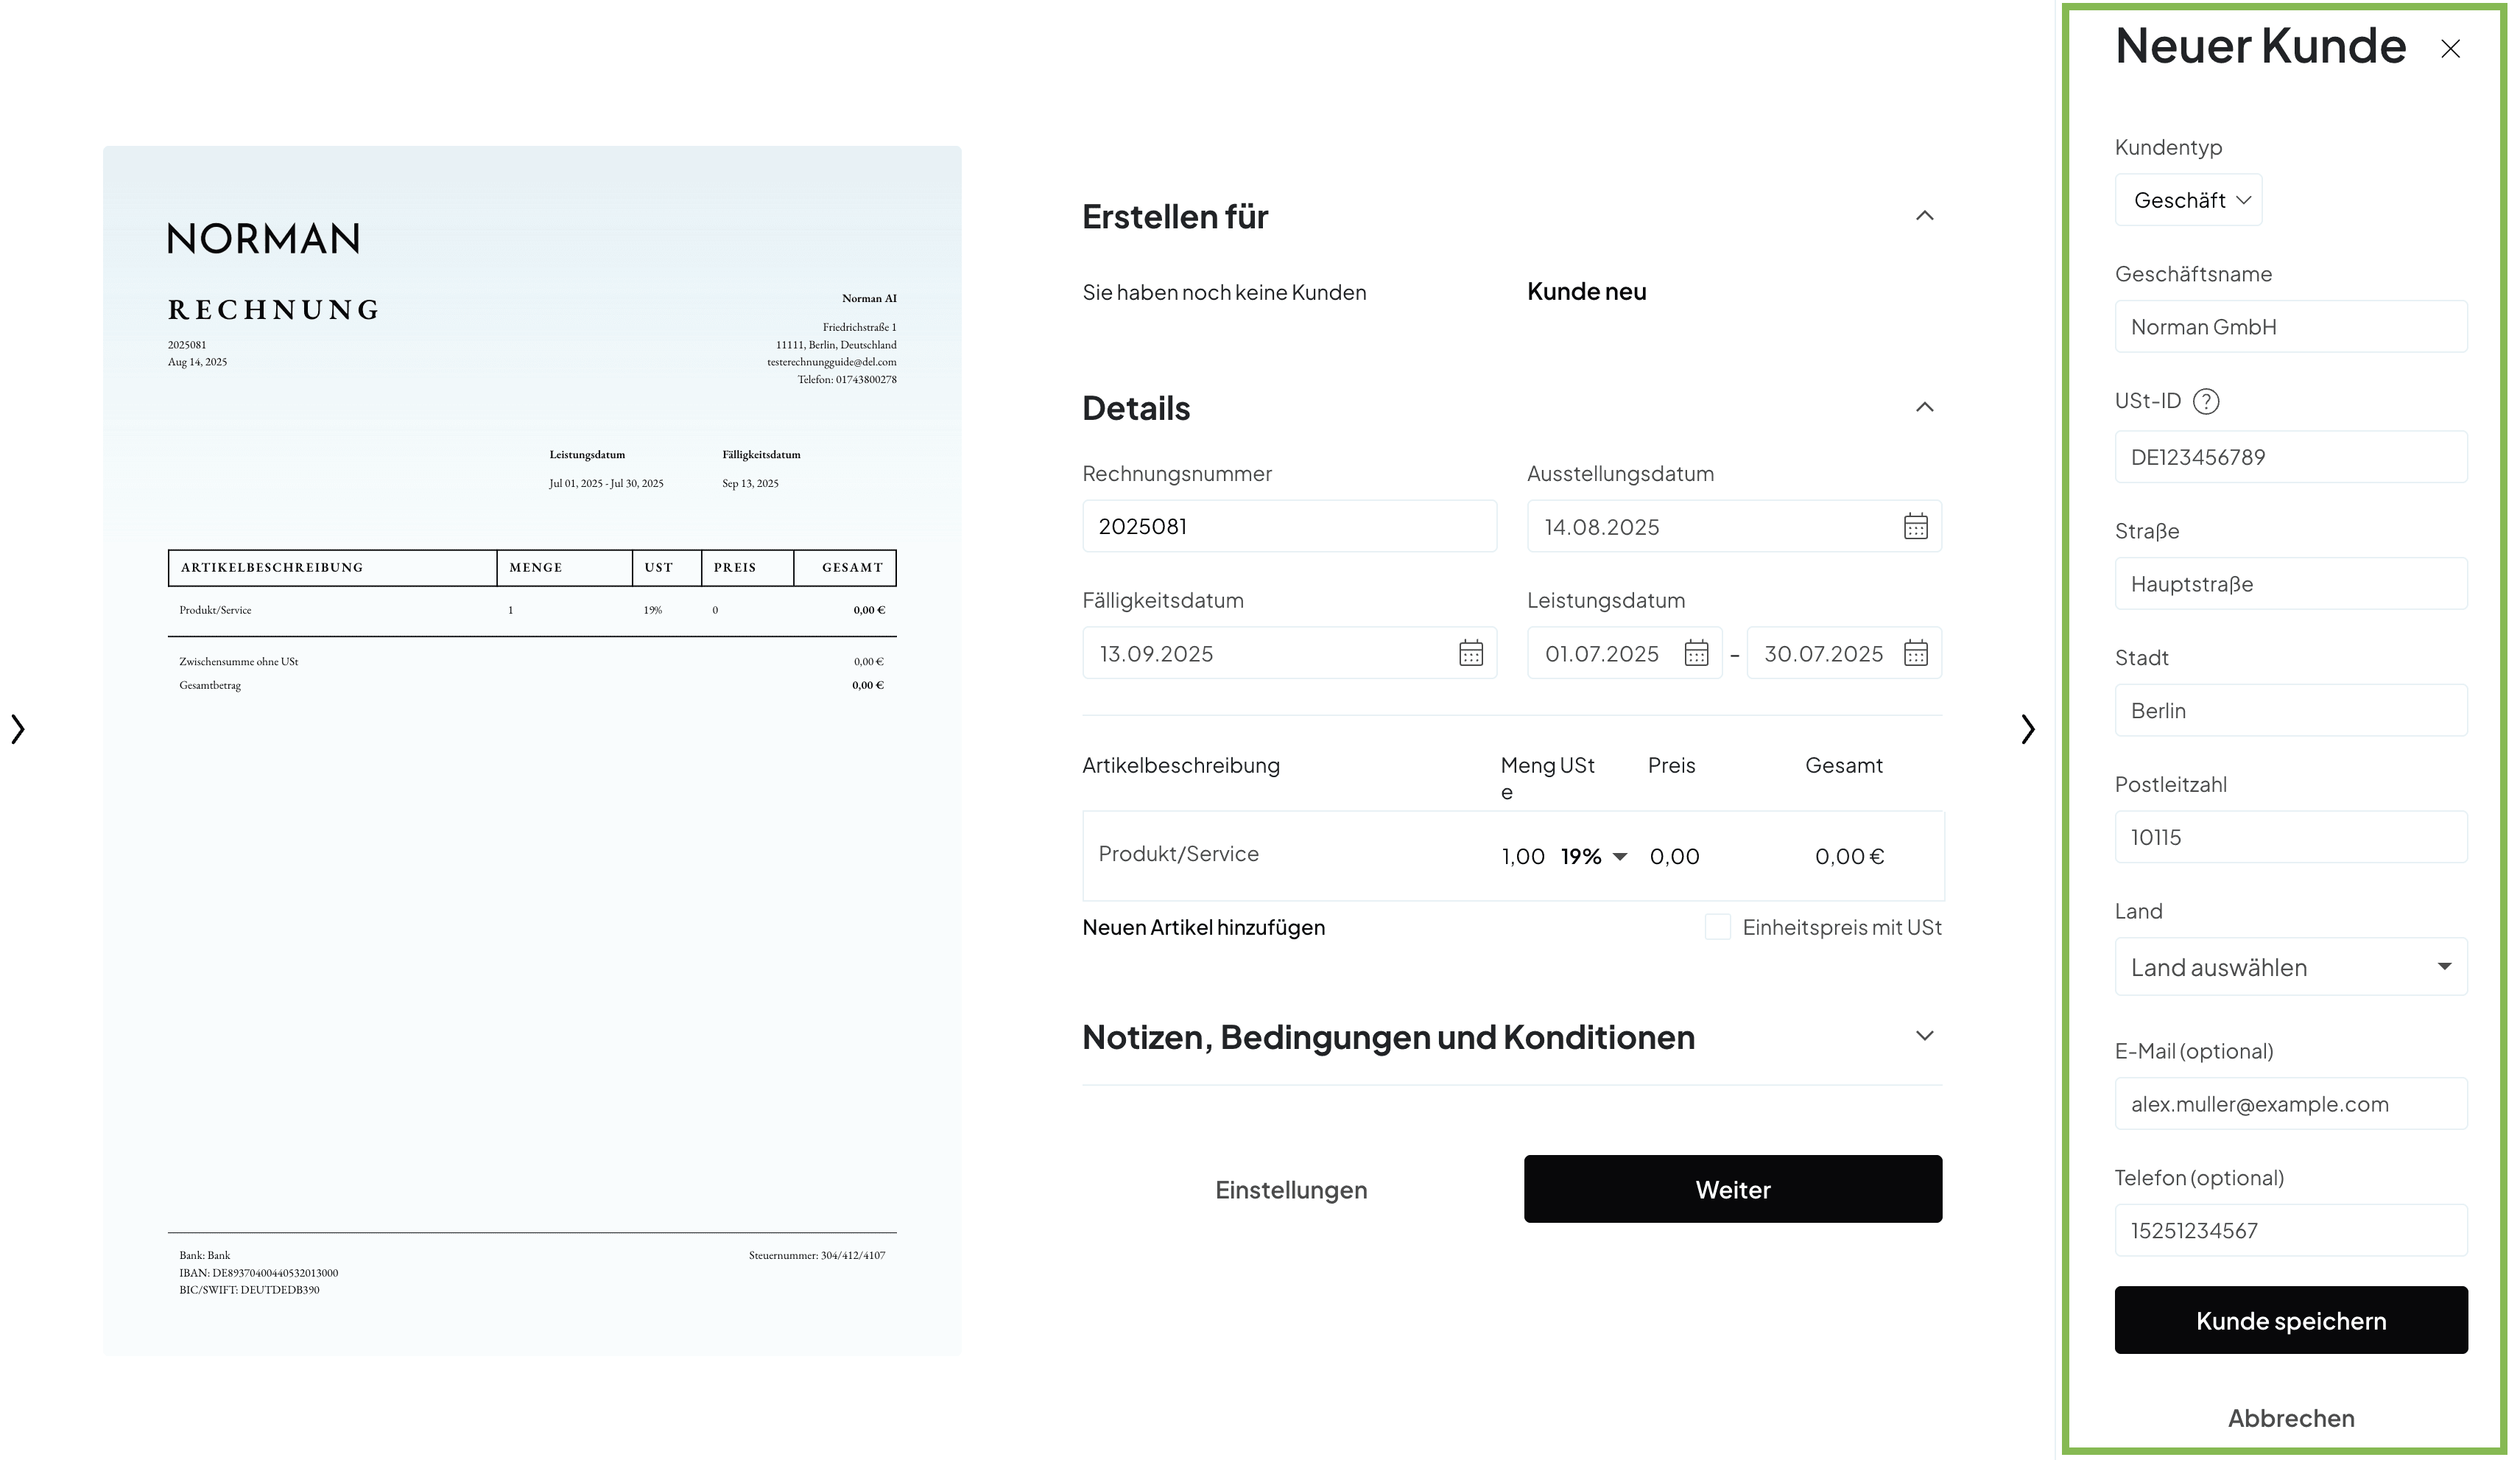
Setting Up Your Client
First, add the client you're billing. You'll see "You don't have any clients yet" with a button to "Create new client."

Click it and choose your client type:
Business – Company or organization
Person – Individual client
Then add their details:
Name – Company name or individual's full name
Email – Required for sending invoices electronically
Address – Street, city, ZIP code, and country
Phone – Optional but useful
VAT number – Required for EU business clients (except Germany and UK)
The system validates VAT numbers instantly and saves clients for future use.
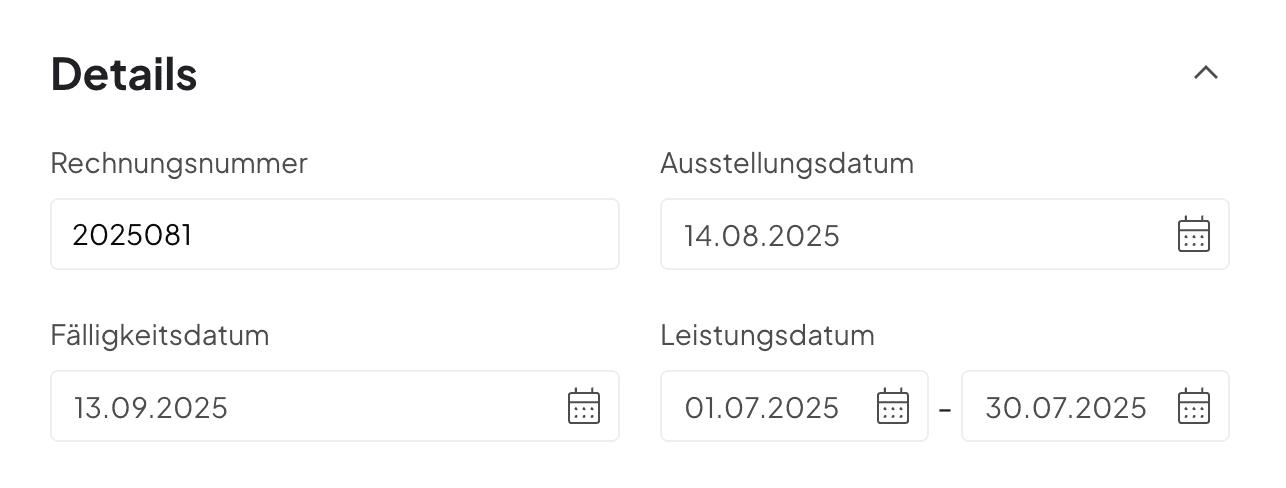
Building Your Invoice
With your client ready, fill in the invoice details. The interface flows naturally from basic info to line items.
Invoice details
Invoice number – Auto-generated (but you can customize it)
Issue date – Today's date by default
Due date – Set to 30 days out (adjustable)
Service date – When you delivered the work (defaults to last month)
Detail what you're billing for:
Description – What you provided
Quantity – How many units
Unit price – Your rate
VAT rate – Applied automatically (0% for Kleinunternehmer)
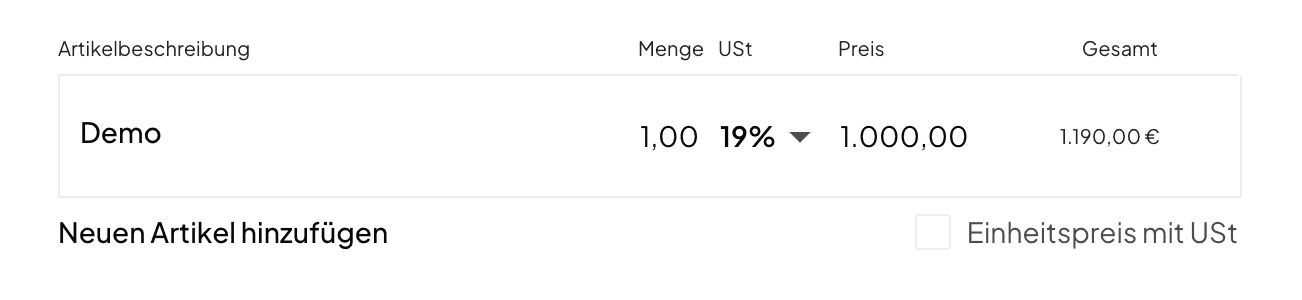
The system calculates totals automatically. Working in foreign currency? It converts to EUR using current rates.
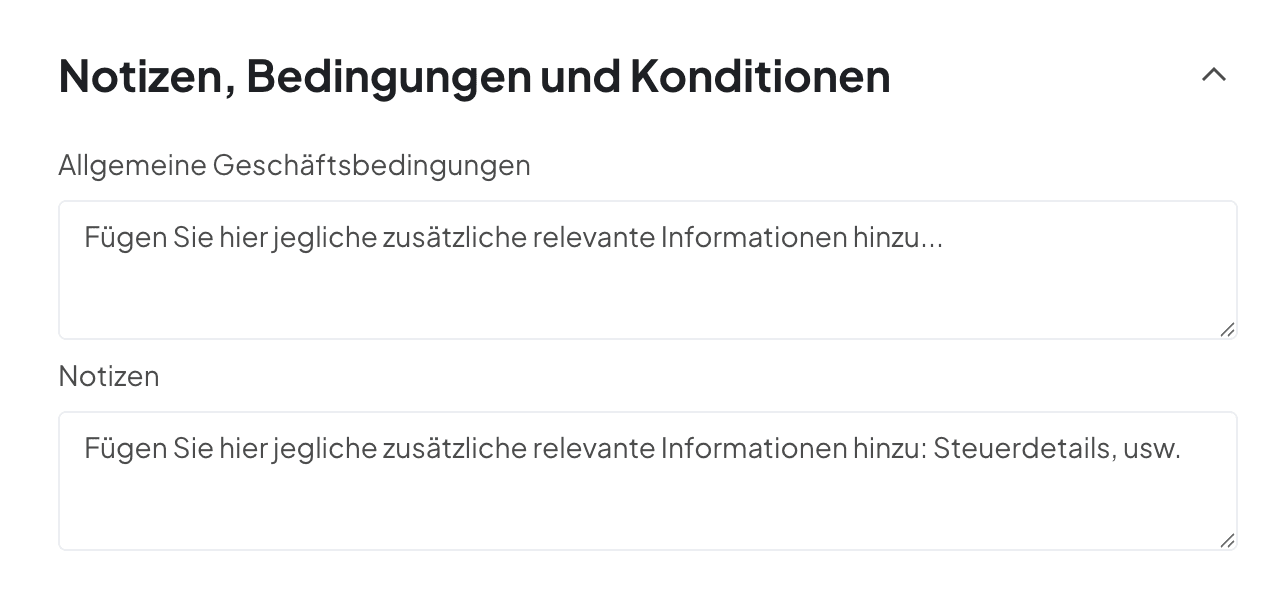
Final Touches
Payment terms – Your payment conditions
Notes – Any terms and conditions
Instructions – How to pay
Personal message – A note to your client
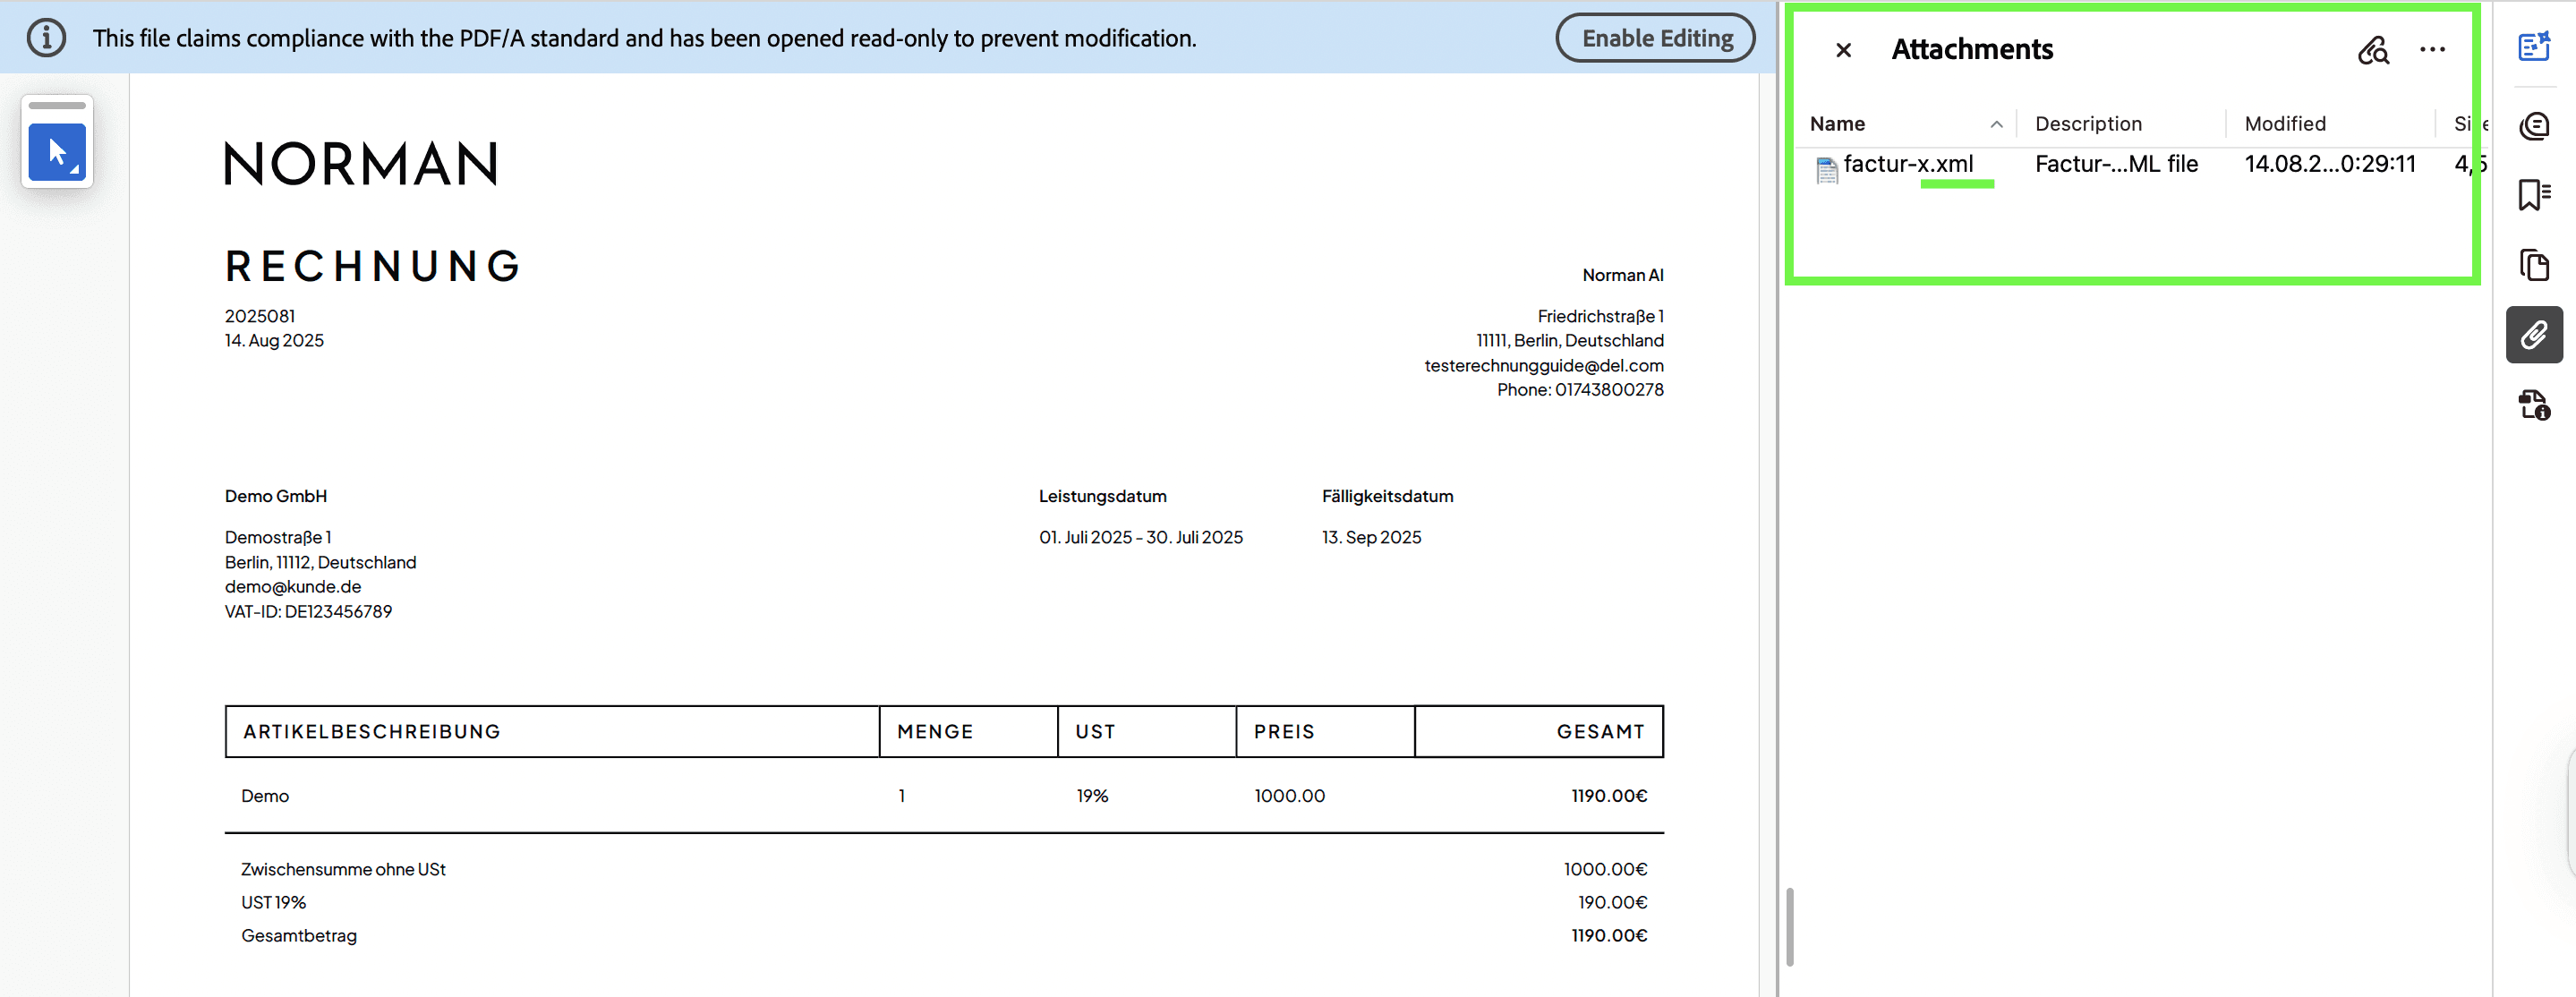
Save your invoice and you're done. Free, no watermarks, unlimited invoices.
💡 Verify compliance: Use a dedicated PDF reader to confirm the e-invoice format was applied correctly. Look for the .xml attachment to the PDF file.
Step 4: Automating Invoices Like a Pro
Once you've got the basics down, Norman's automation features help you maintain steady cash flow and cut out repetitive work. Never chase a payment or forget a regular invoice again.
Instant Send
Skip the download-email-attach dance. Send invoices directly from Norman to your client.
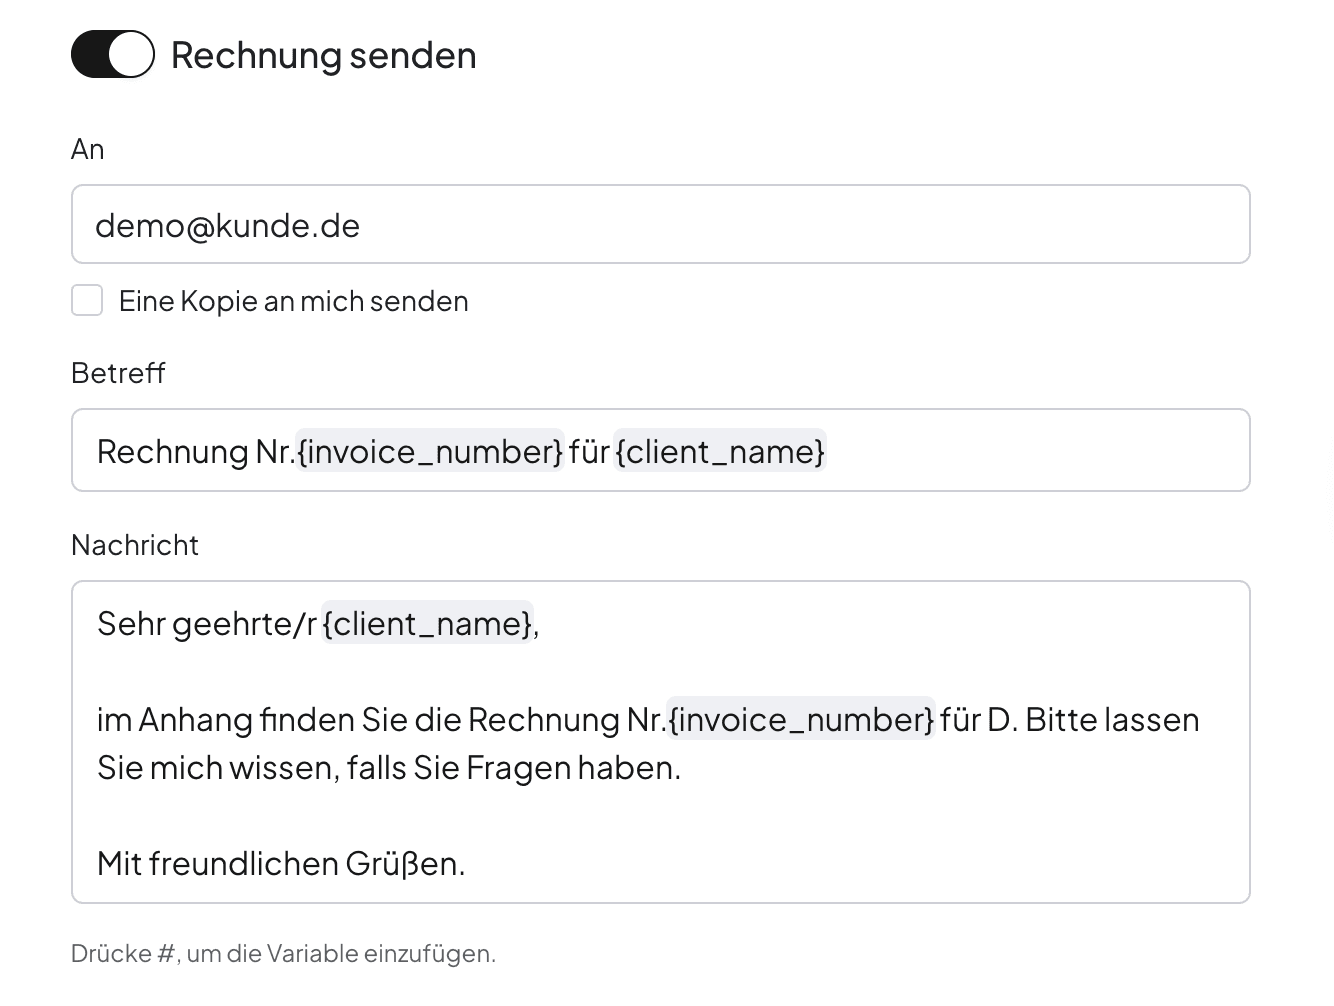
Norman pre-fills the recipient email and message, but you can customize both before sending.
Setting Up Recurring Invoices
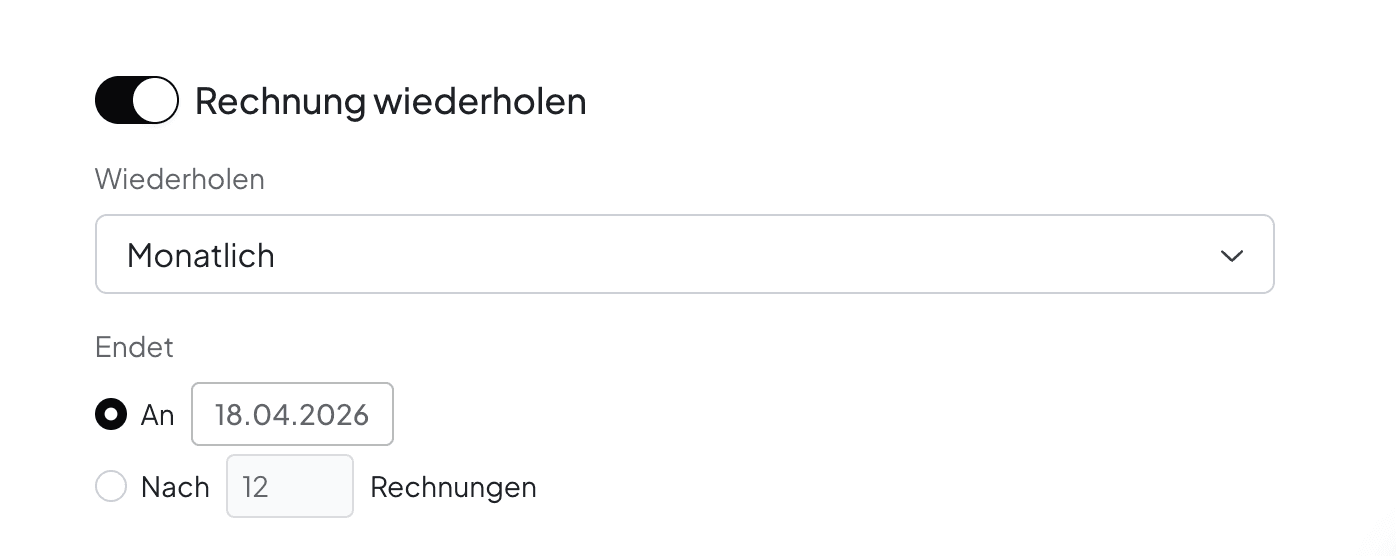
Bill the same client regularly? Stop recreating the same invoice. Just toggle "Repeat invoice" when creating any invoice.
Frequency Options
Weekly – Every 1-4 weeks
Monthly – Every 1-12 months
Custom – Your own schedule
Series Management Choose when to stop:
End date – Pick a specific date
Invoice count – Stop after X invoices (up to 99)
Ongoing – Continue until you cancel
Set them to send automatically or save as drafts for review. Most users auto-send routine invoices like monthly retainers.
Norman handles the boring stuff—incrementing invoice numbers, updating dates. Check upcoming invoices in your dashboard and tweak individual ones without touching the whole series.
📣 Real example: Marketing agency Calistudios set up recurring invoices for all retainer clients and cut their admin time by 80%.
Automated Payment Reminders
Norman tracks due dates and sends professional reminder emails automatically. No more awkward follow-ups.
🙅♀️ Pro move: Let Norman be the bad guy. Blame the system for those payment reminders while you stay the friendly creative.
When creating an invoice, add reminders in the automation section. Choose when to send them: 1, 3, 7, 14, or 30 days after the due date.
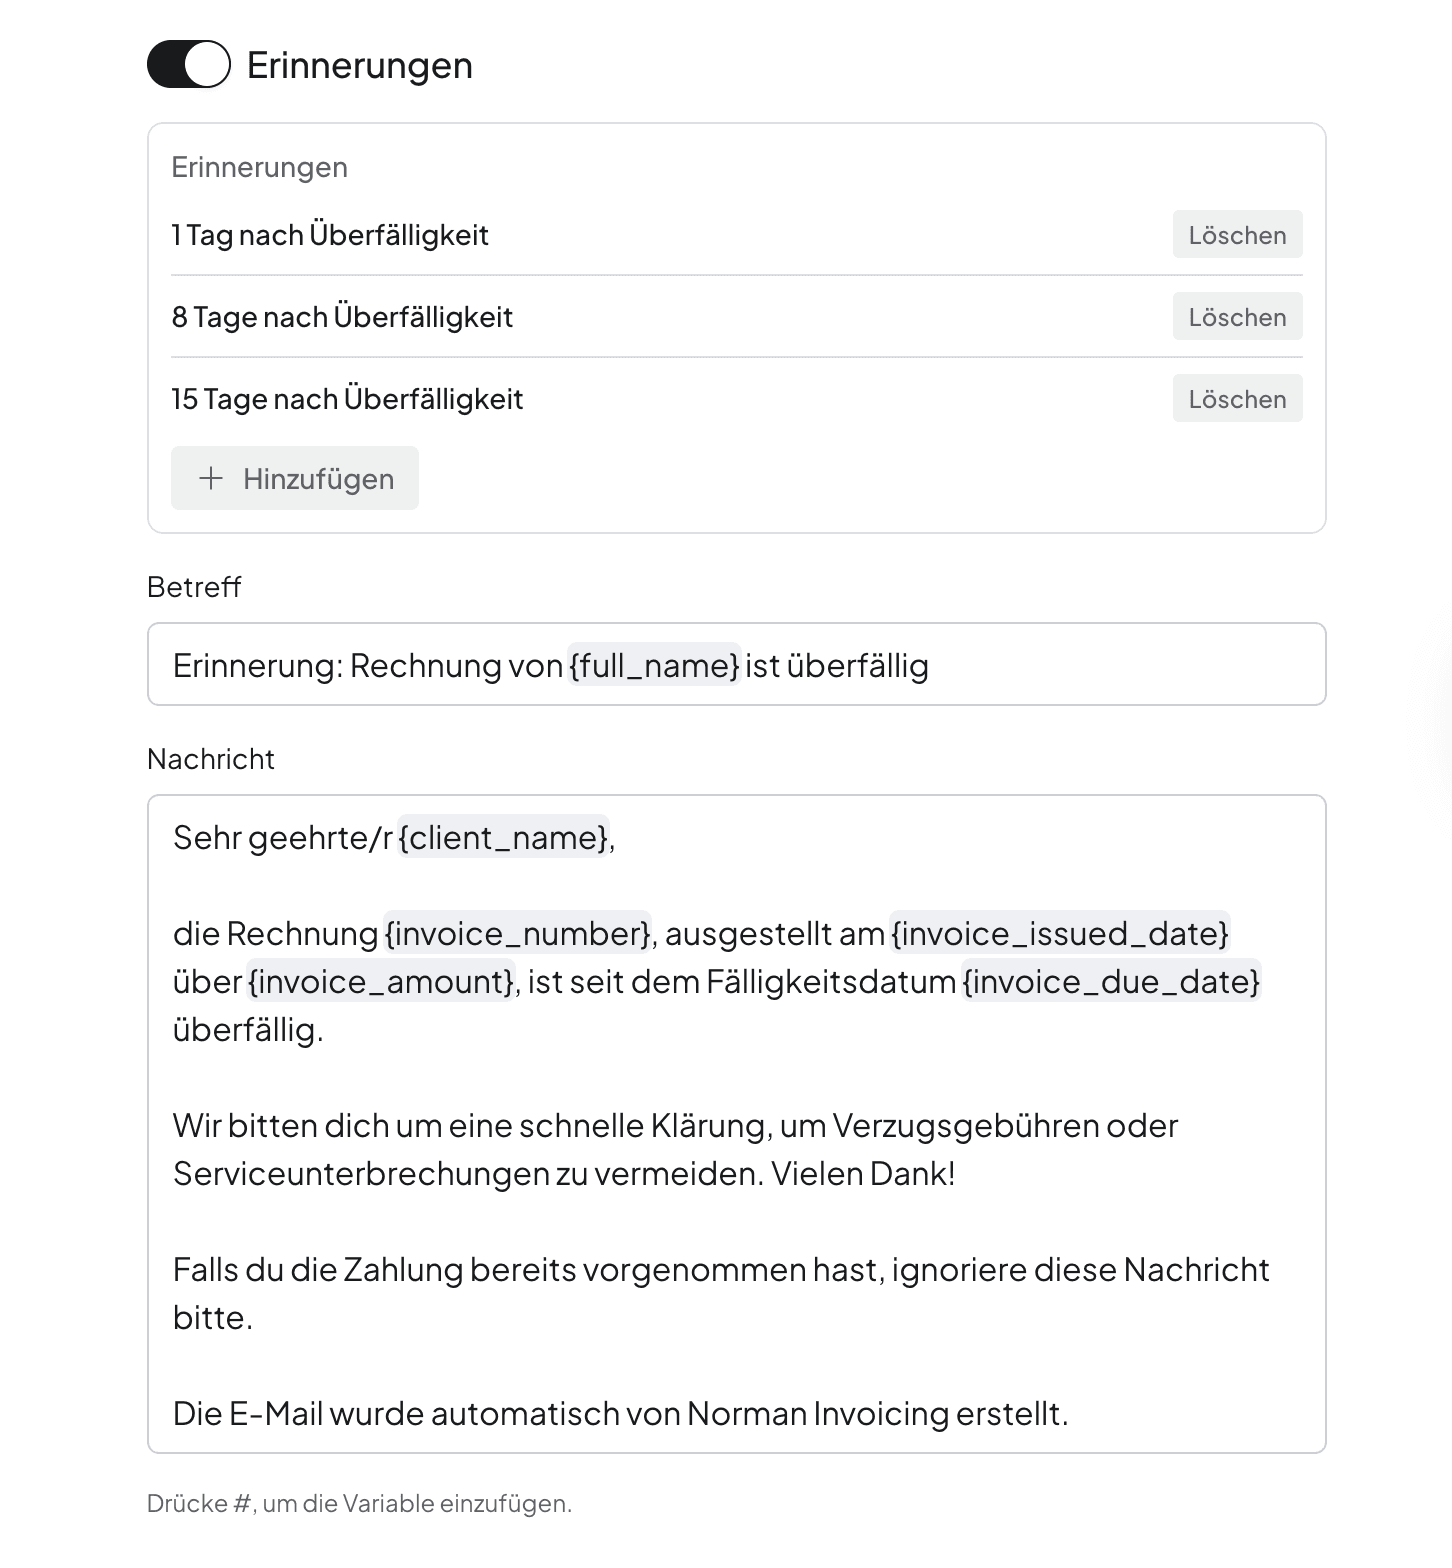
Norman uses professional templates you can customize:
Subject line includes your company name and "overdue" status
The message shows invoice details, amount due, and payment instructions
Client names and specifics filled in automatically
The system tracks everything, including reminders sent, payment status, and stops bugging clients once they pay. Full communication history saved for your records.
Built-In Automations That Just Work
Status Updates: Invoices automatically become "Overdue" the day after their due date. No manual tracking needed.
Payment Matching: Connect your bank account, and Norman matches incoming payments to invoices, marking them "Paid" automatically. Your records stay current without lifting a finger.
Smart VAT Notes: Norman automatically adds the correct legal explanation when VAT isn't charged. No more googling the right phrasing:
Kleinunternehmer – Adds §19 UStG reference for small business exemption
Reverse Charge – Includes proper B2B EU reverse charge notation
Third Country Exports – Notes tax-free export outside the EU
VAT-Exempt Goods – Specifies the exemption reason for special goods/services
The system knows which note to apply based on your settings and client location. Compliant invoices every time, without the legal headache.
Best Practices for Invoice Automation
Timing Your Reminders: Start gently by sending your first reminder 1-3 days after the due date. Most late payments are honest mistakes. Space follow-ups 7 days apart to give clients time to process.
Keeping Clients Happy: Automated reminders stay professional and informative, not demanding. You maintain good relationships even when discussing money.
Know Your Clients: Track who pays on time and who doesn't. Adjust accordingly:
Extend terms for reliable clients
Require deposits from chronic late-payers
Customize reminder frequency per client
These automation tools scale with your business. Add more clients, create more invoices—the system keeps everything running smoothly while you focus on actual work.
Conclusion
You're all set. You now know how to create professional e-invoices with Norman—from initial setup to advanced automation. Your invoicing system is ready to support your business growth.
What You've Gained:
Faster Payments
Automated reminders and professional invoices get you paid quicker. Users typically see payments arrive 20-30% faster.Professional Credibility
Consistent, branded invoices build trust. Your polished presentation matches the quality of your work.Hours Saved Monthly
Recurring invoices, payment tracking, and automatic reminders handle the repetitive stuff. You focus on actual work.Clean Records
Every invoice, payment, and reminder is tracked automatically. Tax time becomes manageable.Room to Scale
The system grows with you. Managing 10 clients or 100 works equally well with the automation you've set up.
Moving forward:
Start small. Use basic features first, add advanced ones as you get comfortable.
Watch the patterns. Check which clients pay fast, which need nudging. Adjust your approach accordingly.
Keep it personal. Automation handles the logistics, but your client relationships still matter.
Explore as you grow. Multi-currency billing, tax integrations, accounting connections—add them when you need them.
Getting help
Norman's support team covers both the technical and business aspects of invoicing. The platform is intuitive enough to explore on your own, but help is there when you need it.
Your invoicing is now an asset, not a chore. You've got the foundation for steady cash flow, happy clients, and smooth operations.
Welcome to effortless invoicing with Norman.